Causes and Solutions for High Current in Brushless Motors
Causes and Solutions for High Current in Brushless Motors
Brushless motors are widely used in high-tech fields such as drones and...
read more
Controlling a direct current (DC) motor using a microcontroller like the Arduino is a fundamental skill in robotics, automation, and mechatronics. However, it’s not as simple as connecting the motor directly to an Arduino pin. Doing so can damage the microcontroller due to the motor’s high current demand. Instead, a proper power interface is required to safely manage speed and direction. This guide explains how to control a DC motor using an Arduino, focusing on Pulse Width Modulation (PWM) for speed regulation and an H-Bridge circuit for directional control—all while maintaining system reliability and safety.
Directly connecting a DC motor to an Arduino’s digital or analog output pins is not feasible and risks permanent damage. Most Arduino boards can source only about 20 to 40 milliamps per I/O pin, while even small DC motors can draw hundreds of milliamps or more under load, especially during startup or stall conditions. Therefore, a dedicated motor driver is essential.
An Arduino board such as the Uno, Nano, or Mega provides the digital logic and PWM outputs needed for control. These boards are ideal for prototyping and small-scale applications.
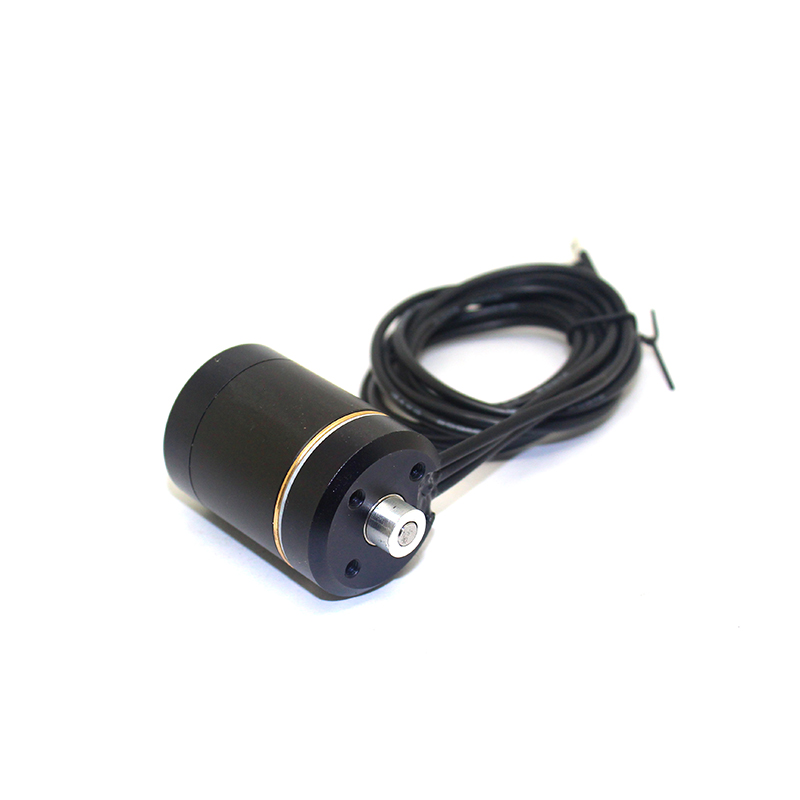
A standard brushed DC motor is used in this setup. Be sure to know its voltage rating and expected current draw under load. Exceeding the driver’s limits can lead to overheating or failure.
The L298N motor driver module is a popular choice because it contains a dual H-Bridge, built-in flyback diodes, and is easy to interface with the Arduino. It supports input voltages from 5 to 35 volts and can deliver up to 2 amps of continuous current per channel, provided adequate heat dissipation is used.
The motor must be powered by a separate DC power source, such as a battery pack or regulated power supply, matched to the motor’s voltage requirements. Never power a motor directly from the Arduino’s 5V or Vin pins unless you are certain the current draw is well within safe limits—this is rarely the case for motors capable of meaningful mechanical work.
Speed control is achieved using Pulse Width Modulation, or PWM. Since the Arduino cannot output a true analog voltage, it uses PWM to simulate a variable voltage by rapidly switching a digital pin on and off. The duty cycle—the percentage of time the signal is high—determines the average power delivered to the motor.
For example, a 0% duty cycle means the signal is always off, so the motor stops. A 50% duty cycle delivers half the average voltage, resulting in roughly half speed. A 100% duty cycle applies full power, allowing the motor to run at maximum speed. The Arduino’s analogWrite() function simplifies this process by accepting a value from 0 to 255, where 0 is 0% duty cycle and 255 is 100%, on pins marked with a tilde (~).
Direction control requires reversing the polarity of the voltage across the motor terminals. This is accomplished using an H-Bridge circuit, which consists of four switches—typically transistors—arranged in an H shape. By activating diagonal pairs, current can be directed through the motor in either direction.
The L298N integrates this functionality. For a single motor, two input pins—IN1 and IN2—control direction. Setting IN1 high and IN2 low causes forward motion. Reversing those states makes the motor spin in reverse. Setting both inputs low allows the motor to coast to a stop. Setting both high applies a brake by shorting the motor terminals, causing it to stop quickly due to dynamic braking.
The enable pin, ENA, accepts a PWM signal to control speed. This separation of direction and speed signals gives precise, independent control over both parameters.
The following code demonstrates complete bidirectional control of a DC motor using the L298N driver. It ramps up the motor speed in the forward direction, runs at full speed, then repeats the process in reverse, and finally stops.
// Motor control pin definitions
const int ENA = 5;  // PWM pin connected to ENA on L298N
const int IN1 = 7;  // Connected to IN1
const int IN2 = 8;  // Connected to IN2

void setup() {
  // Set control pins as outputs
  pinMode(ENA, OUTPUT);
  pinMode(IN1, OUTPUT);
  pinMode(IN2, OUTPUT);

  // Initialize motor in stopped state
  digitalWrite(IN1, LOW);
  digitalWrite(IN2, LOW);
  analogWrite(ENA, 0);
}

void loop() {
  // Ramp up speed in forward direction
  digitalWrite(IN1, HIGH);
  digitalWrite(IN2, LOW);

  for (int speed = 0; speed <= 255; speed++) {
    analogWrite(ENA, speed);
    delay(10);  // Smooth acceleration over approximately 2.5 seconds
  }

  delay(1000);  // Run at full speed for 1 second

  // Ramp up speed in reverse direction
  digitalWrite(IN1, LOW);
  digitalWrite(IN2, HIGH);

  for (int speed = 0; speed <= 255; speed++) {
    analogWrite(ENA, speed);
    delay(10);
  }

  delay(1000);  // Run at full speed for 1 second

  // Stop the motor
  digitalWrite(IN1, LOW);
  digitalWrite(IN2, LOW);
  analogWrite(ENA, 0);

  delay(2000);  // Pause before repeating the cycle
}
Always use separate power supplies for the Arduino and the motor. If you use the same battery, connect the ground terminals of both supplies together to establish a common reference. Without this, the control signals may not be interpreted correctly.
The L298N can generate significant heat, especially when driving motors near its current limit. Attach a heatsink if the module becomes hot during operation. In high-power applications, consider more efficient alternatives such as MOSFET-based drivers.
The L298N includes internal flyback diodes to protect against voltage spikes generated when the motor is turned off—this is known as inductive kickback. These diodes are critical for preventing damage to the driver and other components. Do not disable or remove them unless you are replacing them with external protection.
Check your motor’s stall current—the current it draws when blocked from turning. If this exceeds 2 amps, the L298N may not be suitable without forced cooling, and a more robust driver should be used.
Use only PWM-capable pins for the enable signal. On most Arduino boards, these are marked with a tilde (~) symbol, such as pins 3, 5, 6, 9, 10, and 11.
Controlling a DC motor with an Arduino involves more than writing code—it requires a solid understanding of electrical interfaces and power management. By using Pulse Width Modulation for speed control and an H-Bridge circuit for direction, you can achieve precise and reversible motor operation. The L298N driver module simplifies this process by handling high-current switching while allowing the Arduino to manage logic and timing safely.
This combination of hardware and software forms a reliable foundation for countless real-world applications, including robotic vehicles, automated gates, conveyor systems, and educational projects. When implemented with attention to power, grounding, and thermal limits, it delivers a robust and scalable solution for motion control in embedded systems.
That concludes our introduction to “How to Control a DC Motor with Arduino: A Technical Guide?”. If you have any requirements for purchasing motors, please visit our online store. Brushless Motor Store